1. Choose the scope and gather supplies
A kitchen deep clean works best as a planned sequence, not a collection of half-finished tasks. Decide whether you are cleaning only accessible surfaces or also emptying cupboards and appliance interiors. Allow separate time for an oven or refrigerator project.
Gather clean microfiber cloths, non-scratch brushes, suitable gloves, and cleaners approved for each surface. Read appliance manuals and product labels first. Ventilate as directed, never mix chemicals, and keep food protected from cleaning products.
2. Clear clutter and start up high
Put away food, wash or load dishes, and remove counter items. Sort one cupboard or drawer at a time if interiors are part of your plan. Keep perishable food refrigerated rather than leaving it out while the rest of the room is cleaned.
Remove accessible dust from high ledges and cabinet tops before moving downward. Use a stable, appropriate step stool if needed; do not stand on counters or appliances. Leave unsafe or inaccessible areas for suitable professional help.
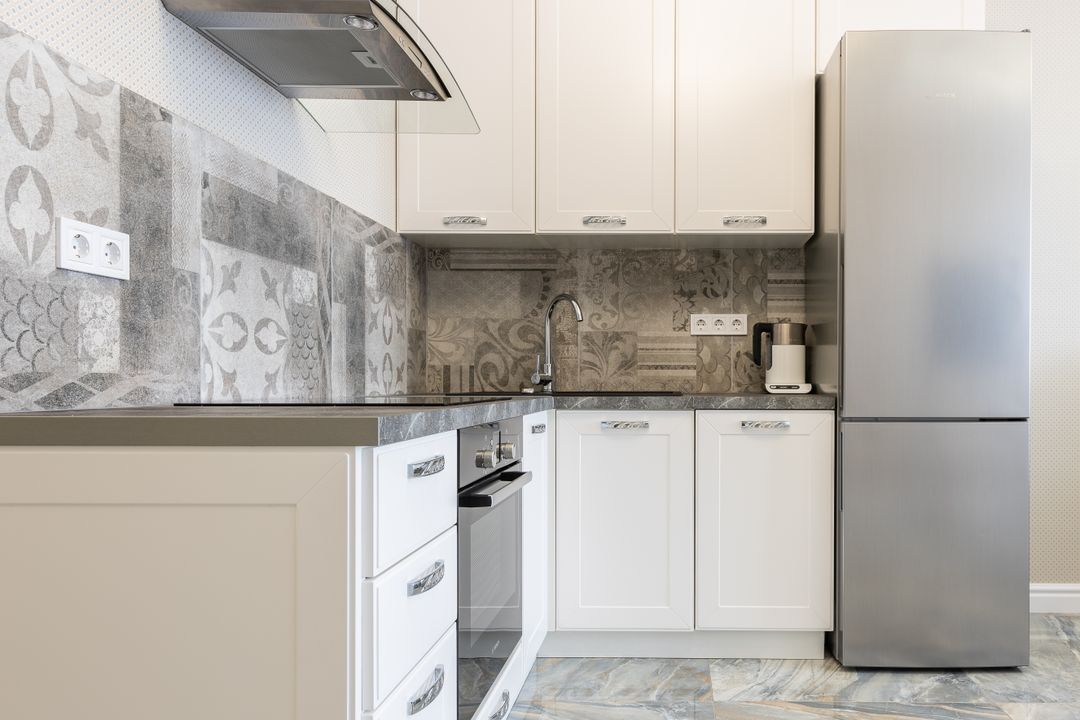
3. Clean cabinet fronts and backsplash
Check whether cabinet doors are painted, laminated, sealed wood, or another finish. Use the approved cleaner on a soft cloth and avoid soaking seams, hinges, and unfinished edges. Test a hidden area before tackling greasy spots.
Wipe handles and pulls, then move to the backsplash. Remove residue gently and rinse where instructed. For tiled surfaces, our bathroom tile and grout guide explains the same important distinction between durable tile and acid-sensitive stone.
4. Handle appliances one at a time
Let the stovetop and oven cool completely and follow their manuals for removable parts and cleaning modes. Do not combine oven cleaner with a self-cleaning cycle unless the manufacturer explicitly permits it. Keep liquid away from controls and electrical openings.
Clean the microwave, dishwasher filter, and range-hood filter only using model-specific instructions. Follow our refrigerator deep-cleaning guide for the fridge. Do not pull out heavy appliances or dismantle equipment simply to reach hidden dirt.
5. Clean counters and the sink
Remove crumbs, then use a cleaner compatible with the countertop. Natural stone, engineered stone, wood, and laminate can have different restrictions. Avoid acidic or abrasive products unless your surface guidance specifically allows them.
Use separate cloths for raw-food spills, the sink, and other work surfaces to avoid spreading residue. Where sanitizing is appropriate, clean first and use a product labeled for that surface, following contact time and any rinse requirement. Finish the sink and faucet with their approved care method.
6. Finish with bins and floors
Empty the trash and clean the bin as its material allows. Vacuum or sweep the floor after the work above is complete, then follow the flooring manufacturer’s instructions for wet cleaning. Let the surface dry before replacing mats and moving around the room.
If the kitchen has wood flooring, see how to clean hardwood floors without damaging them. Wash reusable cloths according to their care labels and store chemicals safely once the job is finished.
7. Keep a realistic maintenance checklist
A brief daily counter and sink reset makes the next detailed clean easier. Schedule cabinet fronts, filters, and appliance interiors according to use and manufacturer guidance instead of waiting until everything needs attention at once.
Prefer help with the reset? Explore deep cleaning from Solara and request a quote. Confirm oven interiors, refrigerator interiors, cupboard interiors, and any difficult-access areas individually; a deep-clean booking is not an automatic promise that every appliance task is included.
- Clear surfaces before you begin
- Work from high areas down to floors
- Use material-specific products
- Follow appliance manuals
- Confirm interior appliance tasks when booking