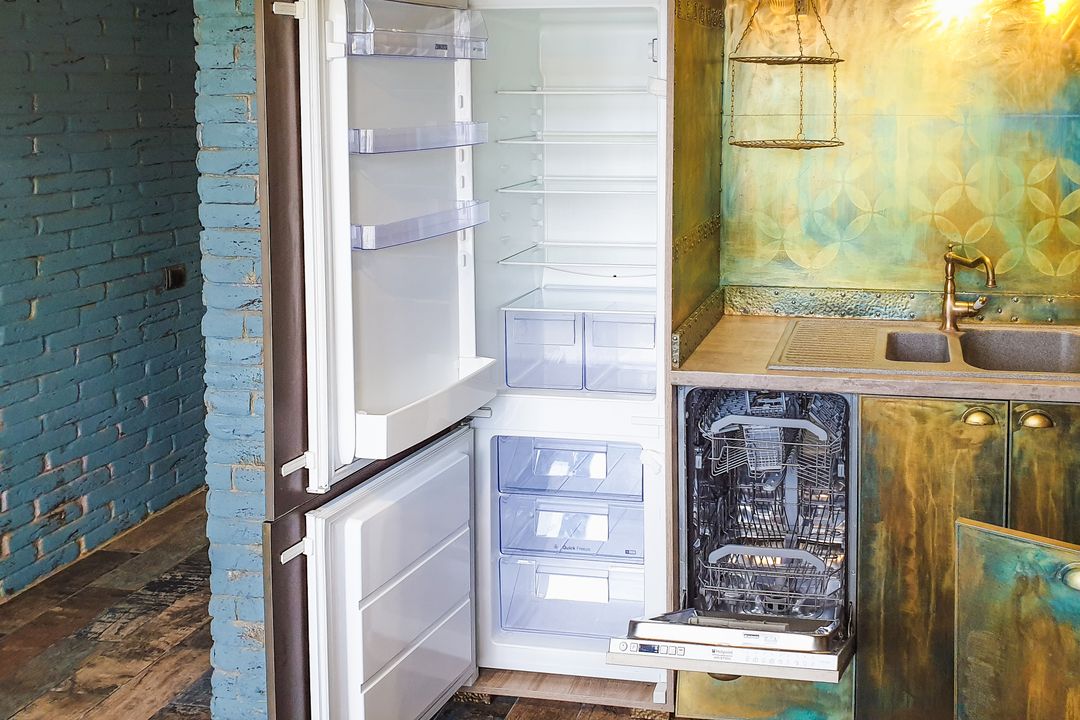
1. Prepare before you empty the fridge
Read the appliance manual for cleaning instructions and any power-disconnection requirements. Gather soft cloths, mild dish soap, a basin, and a cooler with ice packs before starting. Avoid abrasive pads, strong solvents, and any product the manufacturer does not recommend for food-storage surfaces.
Keep perishable food cold while you work. Use a cooler that maintains 40°F or below, and follow the official food-storage guidance. Do not leave perishables on the counter for the entire project; discard them if they have been above 40°F for more than two hours, or one hour when the surrounding temperature is above 90°F.
2. Sort food and remove loose parts
Work shelf by shelf, checking for leaking packages, spoiled items, and food that needs to be discarded. Keep raw meat securely contained and separate from ready-to-eat food. Photograph the shelf arrangement if it will help you put everything back.
Remove drawers and shelves only as the manual allows. Let cold glass shelves approach room temperature before washing; sudden exposure to hot water can crack them. Do not force parts that seem fixed in place.
3. Wash shelves and drawers
Wash suitable removable parts with warm water and mild dish soap, rinse thoroughly, and dry completely. Check corners, tracks, and the undersides of drawers where spills can collect. Use the dishwasher only if the manufacturer explicitly permits it.
For dried-on residue, let a damp cloth soften the spot before wiping. Scraping with a sharp tool can damage plastic or glass and turn a routine cleaning task into a repair.
4. Clean the interior and door seals
Wipe from the upper shelves toward the bottom with the manufacturer-approved method. Use a fresh cloth for food residue and finish with a clean rinse cloth where required. Keep excess water away from vents, lights, and controls.
Gently clean the folds of the door gasket with a soft cloth or soft brush, then dry them. Report split or loose seals for repair instead of pulling at them. Sanitizing after a raw-food spill is a separate step: follow appliance guidance and the label of a product suitable for that use, and never mix chemicals.
5. Wipe the outside without damaging the finish
Clean handles, the door surface, and accessible sides with a soft cloth. Stainless steel, coated steel, and painted finishes can require different products; follow the manual rather than assuming a stainless polish works everywhere. On brushed stainless steel, wipe with the grain.
Do not soak displays or dispenser openings. Clean condenser coils only if they are accessible and the manual provides a safe procedure, including power-disconnection instructions. Moving a heavy appliance or servicing concealed parts is not a necessary DIY cleaning step.
6. Restock and prevent the next buildup
Reinstall dry parts and confirm the refrigerator is operating at a safe temperature before returning food. Wipe sticky containers, use secure storage for raw meat, and keep air vents clear. Remove the source of an odor rather than masking it with fragrance.
Add a quick spill check to your weekly routine. For the rest of the room, follow our step-by-step kitchen deep-cleaning guide. If you are booking deep cleaning, confirm refrigerator-interior cleaning as a separate scope item before the visit.
- Keep food cold throughout the clean
- Let cold glass warm gradually before washing
- Dry removable parts and seals
- Follow finish-specific exterior care
- Confirm interior appliance cleaning before booking