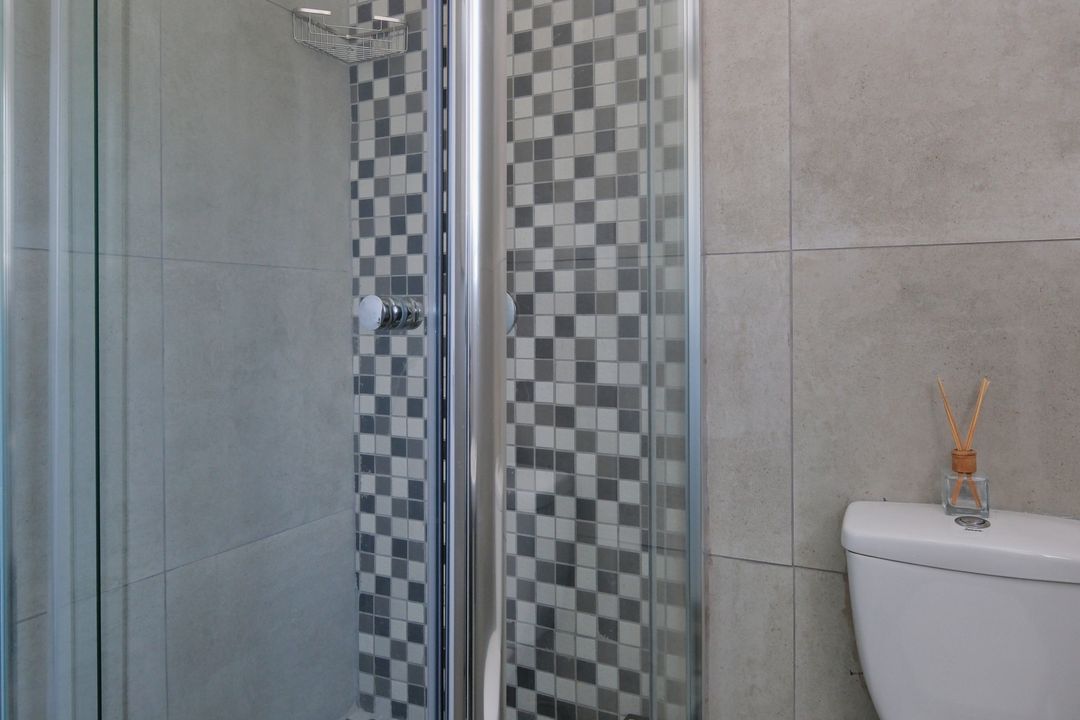
Identify the tile, grout, and sealant
Ceramic and porcelain tile are not the same as marble, limestone, or other natural stone. Grout can also vary, and caulked joints need different treatment from grout lines. Find the manufacturer’s care recommendations before selecting a cleaner.
Avoid vinegar and acidic limescale removers on acid-sensitive stone. Do not assume that a bathroom spray is safe for every surface around the shower. Choose a product compatible with the tile, grout, fixtures, and sealant it may touch, then test a discreet spot.
Clear the room and remove loose debris
Move bottles, bath mats, and small items so the full surface is accessible. Pick up loose hair and dry debris before wet cleaning. Open suitable ventilation and wear any protection specified on the cleaner’s label.
Inspect for missing grout, cracked tile, and loose caulk. Avoid directing water into damaged joints. If a surface needs repair, flag it before starting rather than trying to scrub it back into sound condition.
Clean tile before focusing on grout lines
Begin with a manufacturer-approved cleaner, often a suitable pH-neutral product for routine care. Follow its dilution and dwell-time instructions, and do not let it dry on the surface unless the label calls for that method.
Use a soft cloth or non-scratch tool to loosen ordinary residue. For persistent soap buildup or mineral deposits, select a material-compatible treatment instead of increasing the strength of an improvised mixture.
Brush grout gently and work in sections
Use a soft nylon brush and a grout-compatible cleaner. Work along the joints with controlled pressure, giving the product its labeled contact time instead of relying on force. Avoid wire brushes and abrasive tools that can wear away grout or scratch tile.
Do not mix bleach with vinegar, acidic cleaners, ammonia, or any other cleaning product. If switching products, follow the labels and remove the earlier product completely as directed. Stronger chemistry is not a substitute for knowing the material.
Rinse, dry, and inspect the finish
Remove loosened residue and rinse as instructed, taking care not to flood compromised joints. Dry tile with a clean cloth or suitable squeegee. On floors, remove remaining moisture to reduce slip risks before returning the room to use.
Inspect grout after it dries. Persistent discoloration may be staining or deterioration, not removable dirt. Damaged caulk and missing grout need repair; recurring mold or a musty smell may require investigation of ventilation or moisture sources.
Maintain the room between deep cleans
Use bathroom ventilation appropriately and remove excess shower water after use. Follow your installer’s advice on whether the grout needs sealing; not every grout type does, and applying sealer over dirt or dampness is not a cleaning fix.
For a more thorough room reset, explore Solara’s deep cleaning and request a quote with your surface details. Confirm the scope in advance: grout restoration, re-caulking, sealing, and mold remediation are separate from ordinary cleaning.
- Identify stone and specialty finishes first
- Use compatible products and soft brushes
- Never mix cleaning chemicals
- Rinse and dry according to product directions
- Treat repairs and recurring moisture problems separately